Retroactive Incidents
When an incident doesn't require active incident management, you can create a retroactive incident (called Resolved Incidents in the platform). Resolved incidents start at the "Resolved" milestone and skip any automation you have configured, including not alerting any teams that own Services, Functionalities, and Environments. This is useful for logging incidents that have already occurred.
Note:Resolved incidents allow users to manually add runbooks, so you can use Incident Types to ensure that Resolved Incidents use the appropriate runbooks for non-active incidents. Learn more about Incident Types.
via Slack
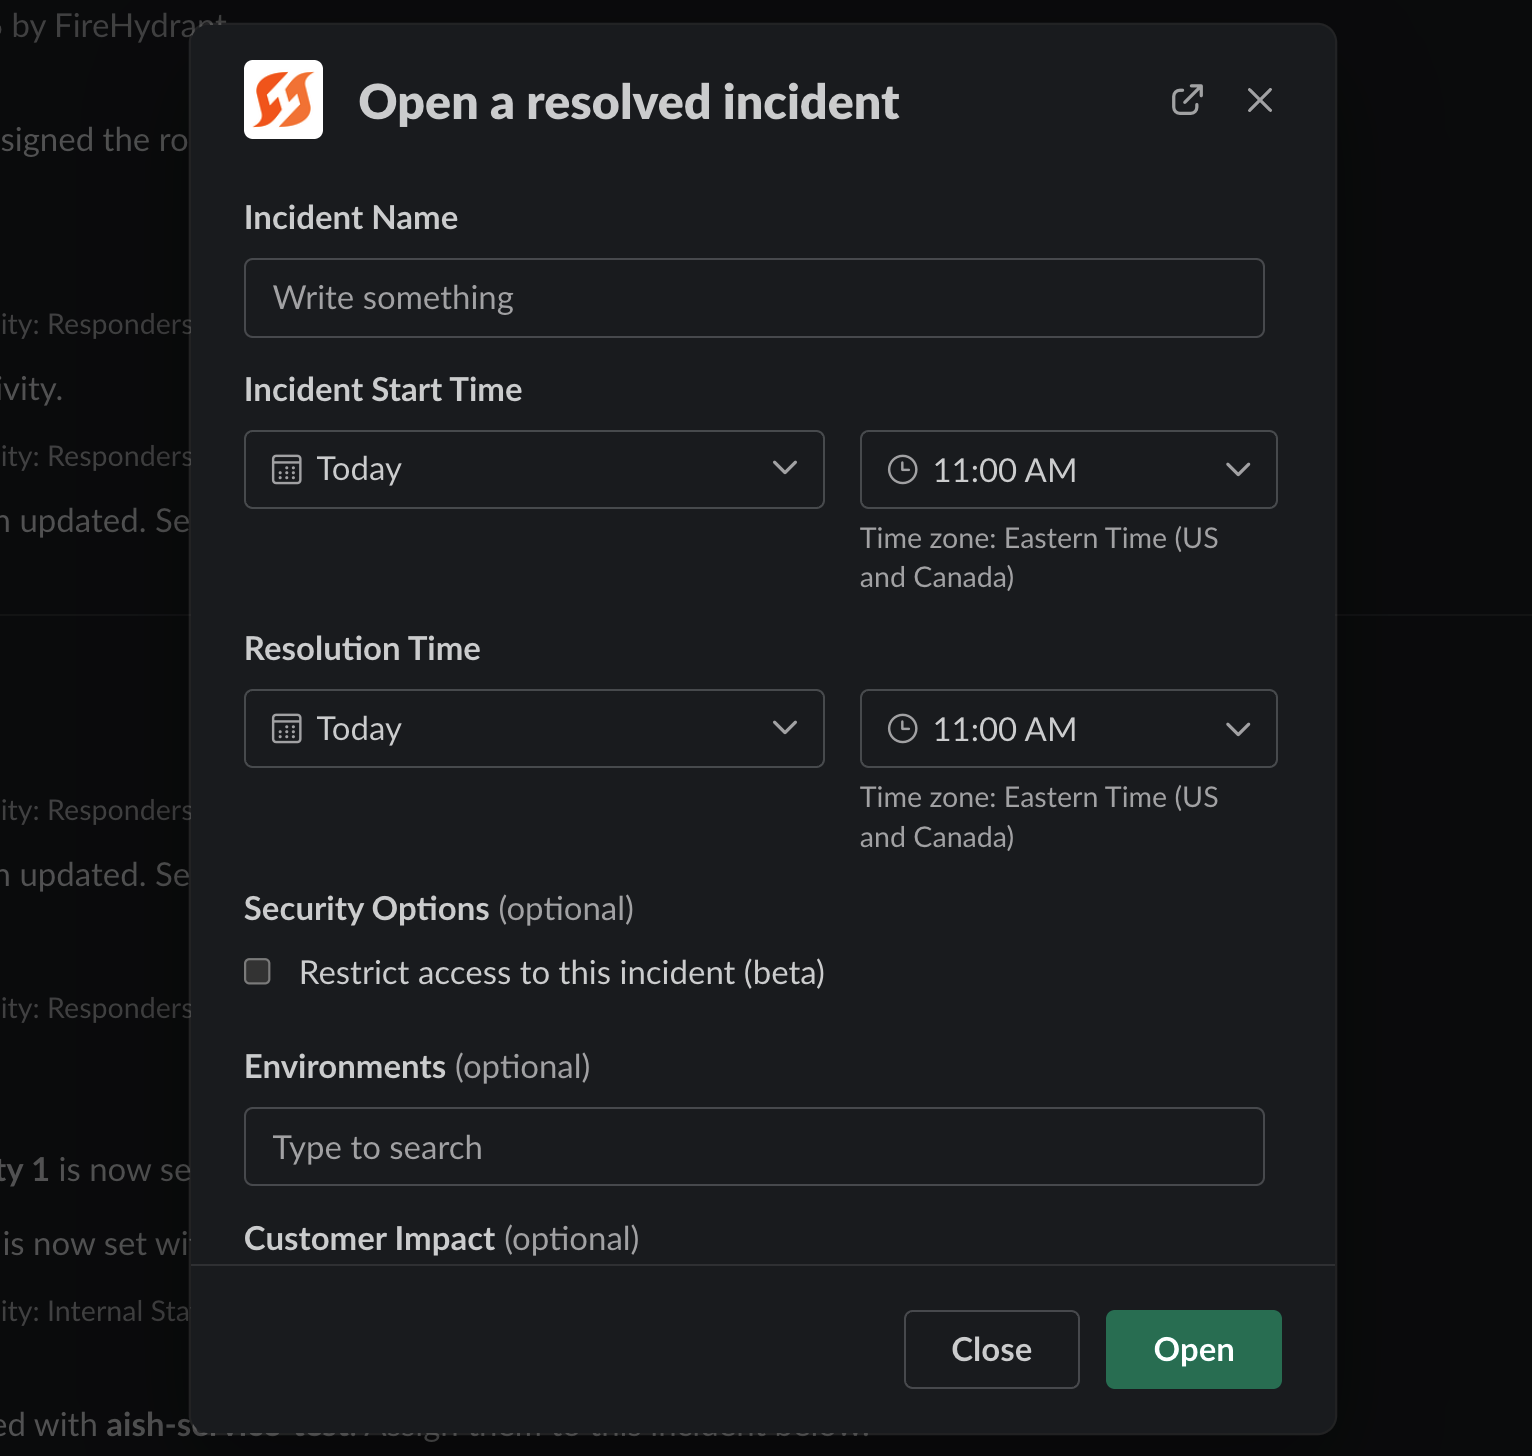
In a Slack workspace with the FireHydrant bot installed, you can run /fh create-resolved to create a resolved incident.

Create resolved incident Slack form
In Slack, users will be required to enter a start date and time as well as an end date and time. The rest of the form will follow the logic of your incident fields settings, including required fields, visible fields, and custom fields. Incident Types field will be visible if you have any Types configured, but it is optional.
Just as in the web interface, you can explicitly add a Runbook to this Resolved Incident for any automation you may need. Where applicable, incident types can also be used to add Runbooks to Resolved Incidents by selecting a Runbook when defining the incident type.
via Web UI
From any screen in the FireHydrant web application, click the dropdown to the right of the "Declare Incident" button and select "Create Resolved Incident".

Create resolved incident button
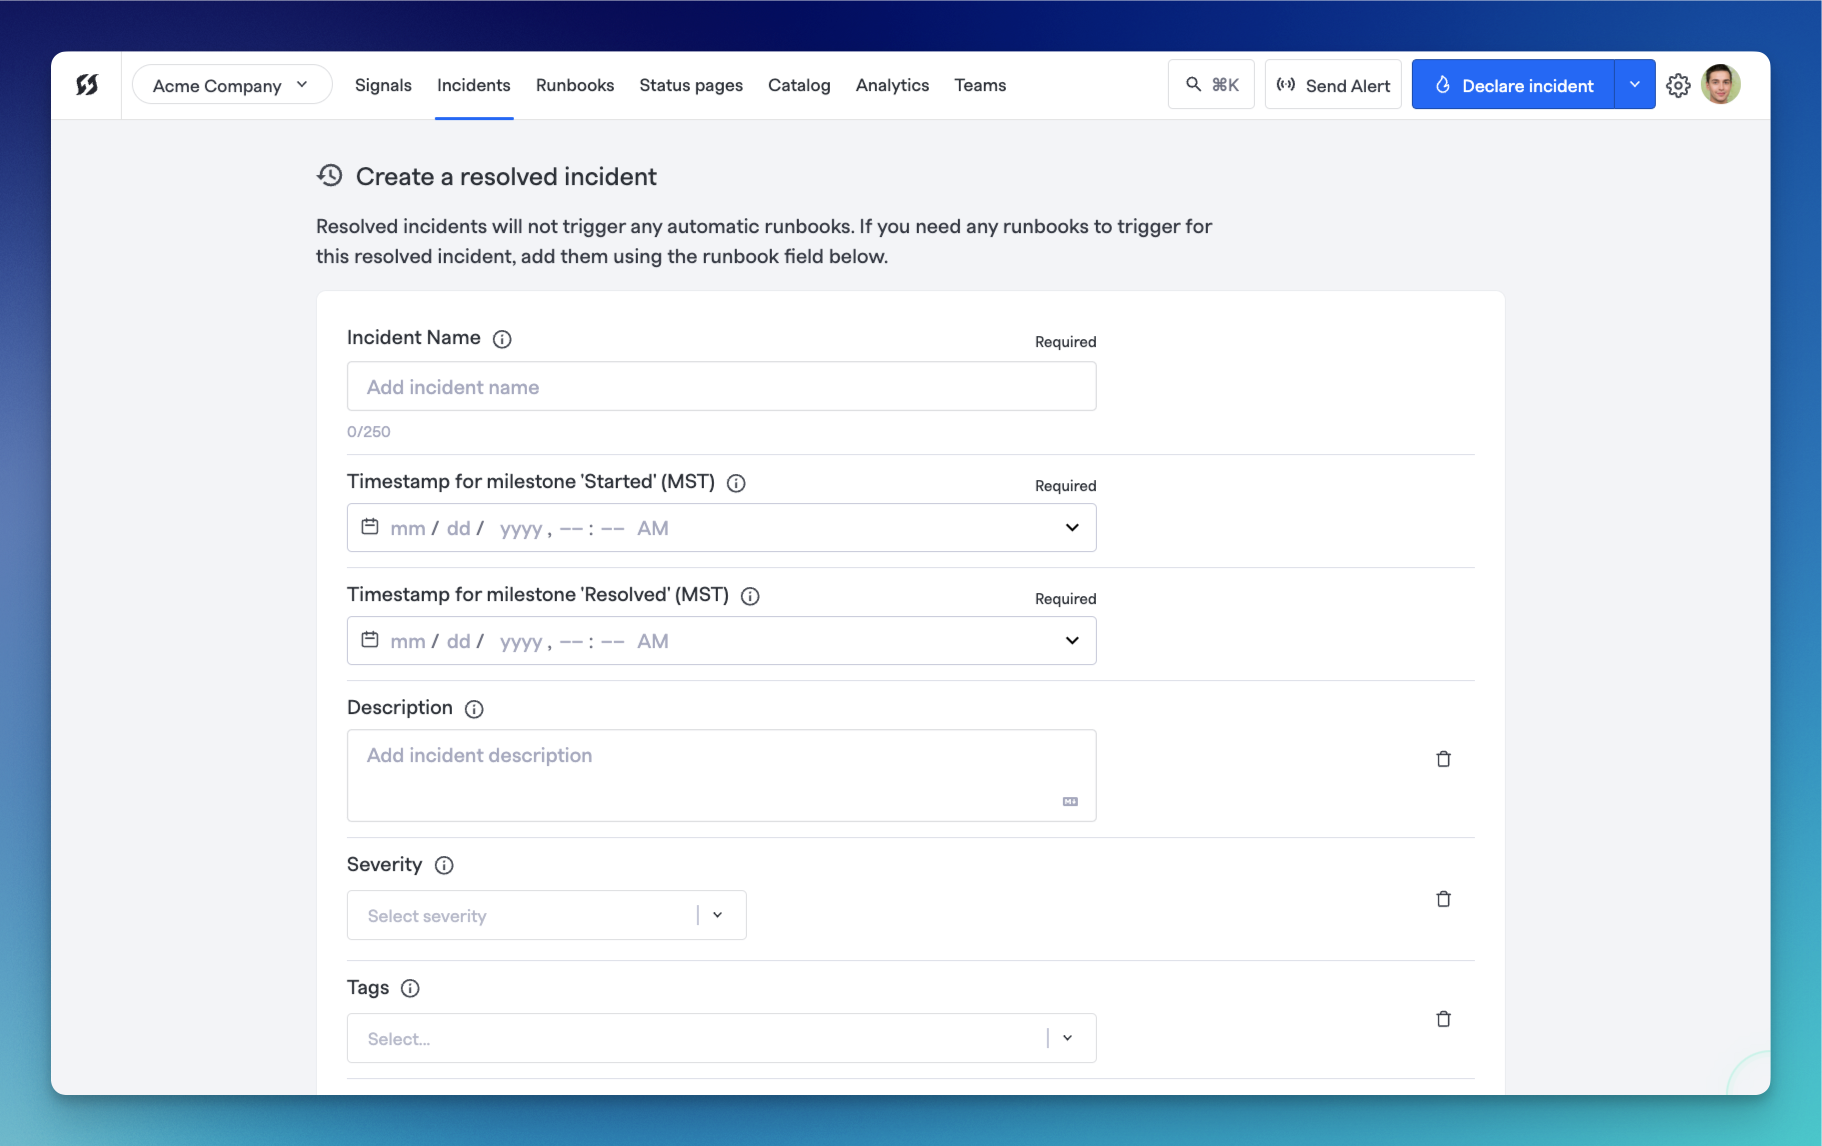
In the Create Resolved Incident form, you will be required to add a name, a start date and time, an end date and time, and any other required fields.
Additionally, you can select an incident type or add any additional details by selecting additional fields at the bottom of the form. Like the Slack form, these fields will be required or visible according to what you've configured in your Incident Fields settings.

Create resolved incident web form
Once the details are completed, click "Create Incident" to create the incident and view the resolved incident page.
via the API
You can create a Resolved Incident via the API by using the same standard Create Incident endpoint, but with the milestone field set with milestones for both started and resolved. For example:
curl --request POST \
  --url https://api.firehydrant.io/v1/incidents \
  --header 'Authorization: Beaerer ${FH_API_KEY}' \
  --header 'Content-Type: application/json' \
  --data '{
  "name": "Example Resolved Incident",
  "milestones": [
    {
      type: "started",
      occurred_at: "2023-01-24T14:15:22Z"
    },
    {
      type: "resolved",
      occurred_at: "2023-01-24T14:17:34Z"
    }
  ]
}'
Next Steps
- Read about how to conduct Scheduled Maintenances on FireHydrant
- Look at Conducting Retrospectives
- Explore the integrations FireHydrant offers
- See a recipe for bulk importing historical incidents
Updated 5 months ago
