Google Auth for Status Pages
With FireHydrant's status pages, you can lock them behind your SSO provider so that only employees or other organization members can access them.
Note:We currently only support OIDC for SSO-authenticated status pages. In addition, this limits access to anyone in your organization who can login via SSO, not only users with FireHydrant licenses.
1. Create Status Page
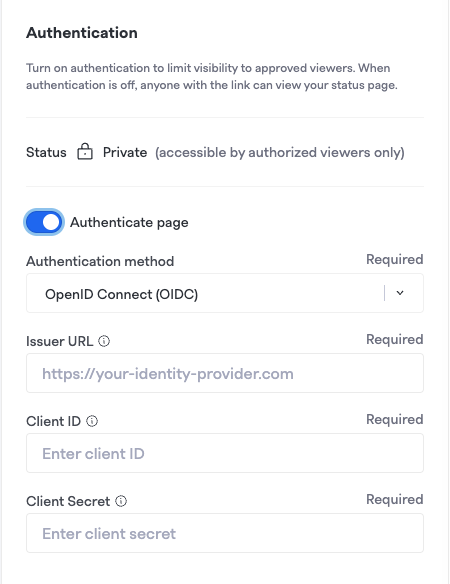
You'll first want to set up and configure a status page. Once you are on the final "Authentication" step, toggle "Authenticate page" and you can start working through these instructions to lock it behind authentication.
2. Create Google OIDC Application
Reference documentation here: https://developers.google.com/identity/openid-connect/openid-connect
To create an OIDC application in Google Cloud, please have your admin follow these steps:
-
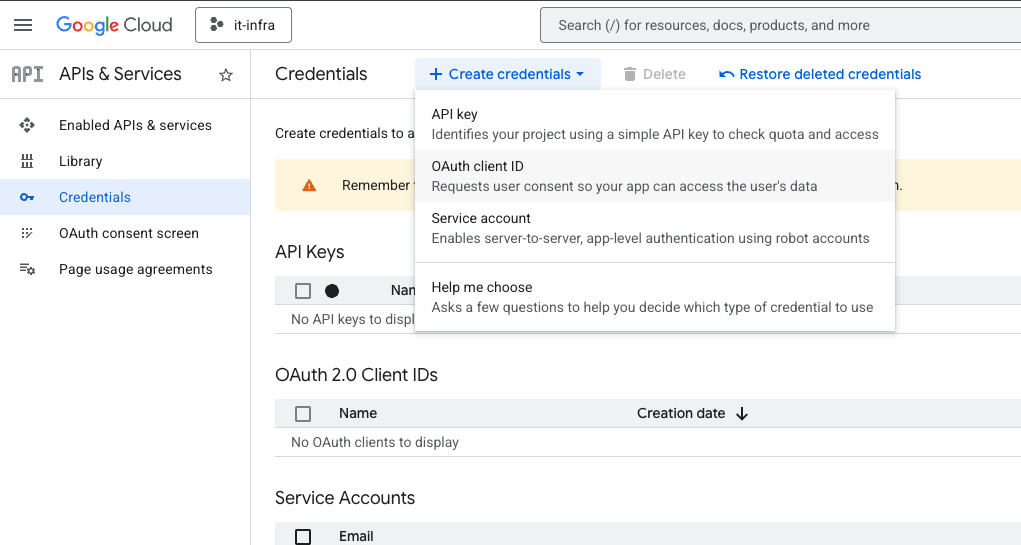
In a Google Cloud project that your users have access to, go to API and Services > Credentials and click Create credentials. In the dropdown, choose OAuth Client ID.
-
If you have not already done so, the next screen will prompt you to configure the consent screen. If you’ve done this already, you can skip to step 3. Otherwise, you can fill in app information, choose your audience (internal), and contact information that will appear on your consent screen.
-
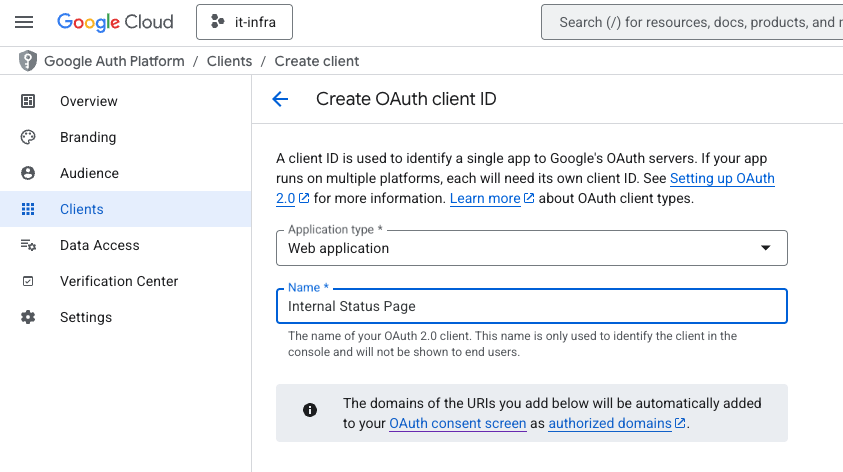
After you set up the consent screen, click on Create OAuth Client.

-
In the Application type dropdown, choose Web Application.
-
In Authorized redirect URIs, add
https://<statuspage hostname>/oauth2/callbackwhere<statuspage hostname>is the DNS name you chose when creating your status page. Then click Create.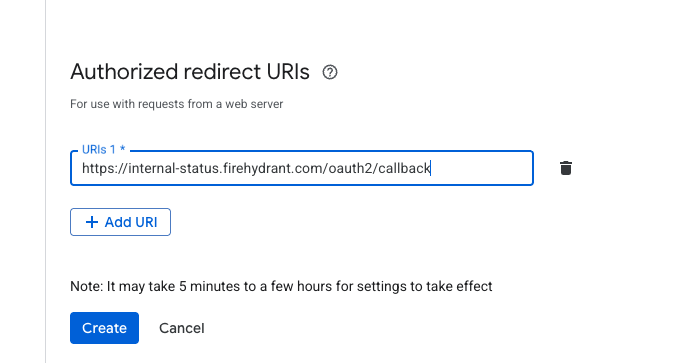
-
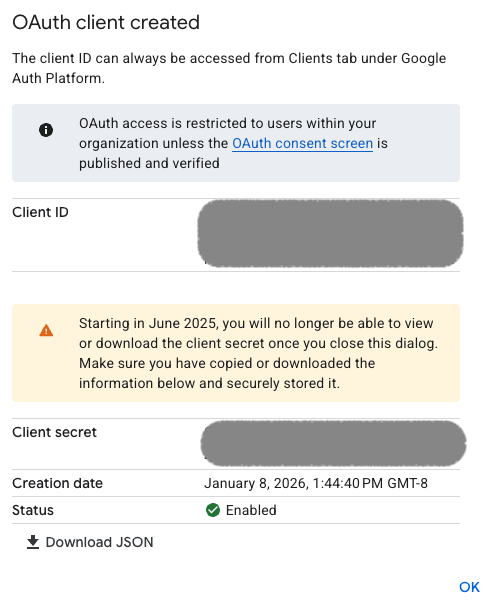
The following page will be your only chance to get the client secret, so be sure to copy this information before dismissing it!
3. Finish Configuration
Once this is complete, you’ll need to gather 3 pieces of information to add authentication to your status page:
-
Issuer URL - For google cloud auth, this will be https://accounts.google.com/o/oauth2/auth
-
Client ID - This is in the Client ID section shown below.
-
Client Secret - This is in the Client Secret section shown below.
4. Publish and Verify
Once the Status Page is showing as verified on the Status Page overview, publish your new status page! When you attempt to access an SSO-locked status page, you should be redirected to your organization's SSO sign-on page.

Next Steps
- Learn how to use your FireHydrant status page
- Learn more about Posting Updates during incidents
Updated 6 months ago