Onboarding Integration Quickstart

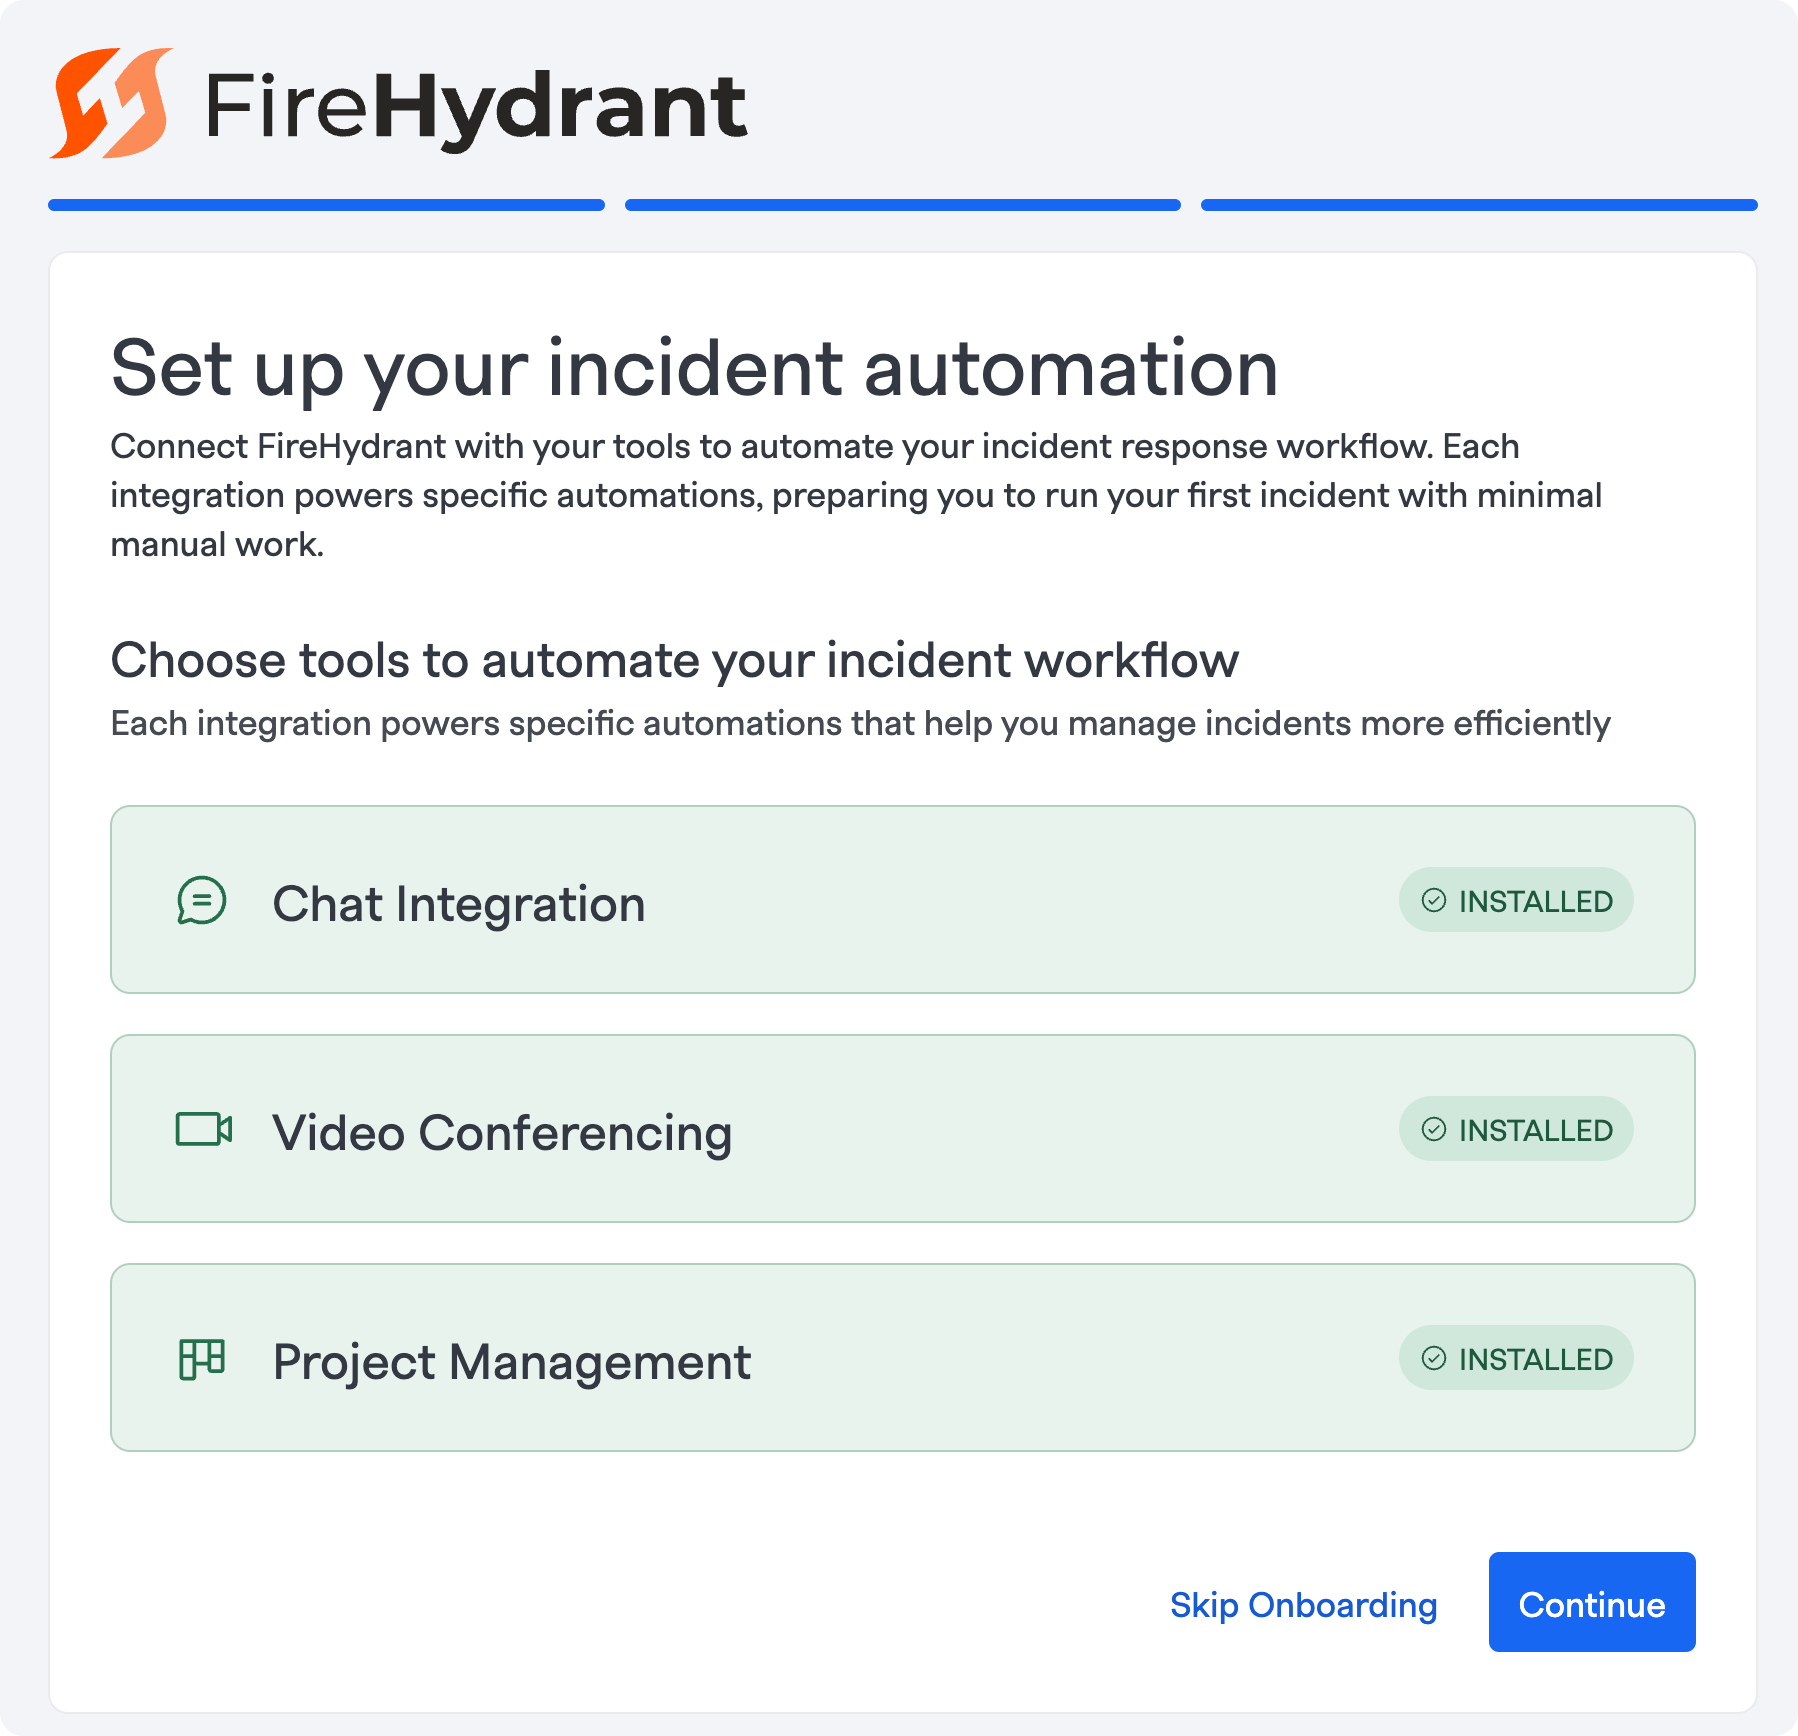
This article will outline the onboarding process that you will follow upon your first login to the platform. Our easy to use flow will walk you through each step of the onboarding process to make sure that your team has the right tools to respond to your first incident right away.
To be prepared for the following setup, you will need to have the ability to install integrations to your tools.
We will be leading you through the set up of the following integrations
1. Chat Integration
FireHydrant works with chat tools as a powerful combo: these integrations enable you to manage the entire incident lifecycle from declaration to resolution without ever leaving your collaboration app. In addition, you'll also unlock several other functionalities like notifying other channels/teams as well as automatically inviting key stakeholders to the meeting/channel.

Today, we have support for:
Once you've configured the integration, you'll be able to take advantage of Runbook steps (automations) to do various things (navigate to the links below and browse the left navigation dropdown):
2. Video Conferencing
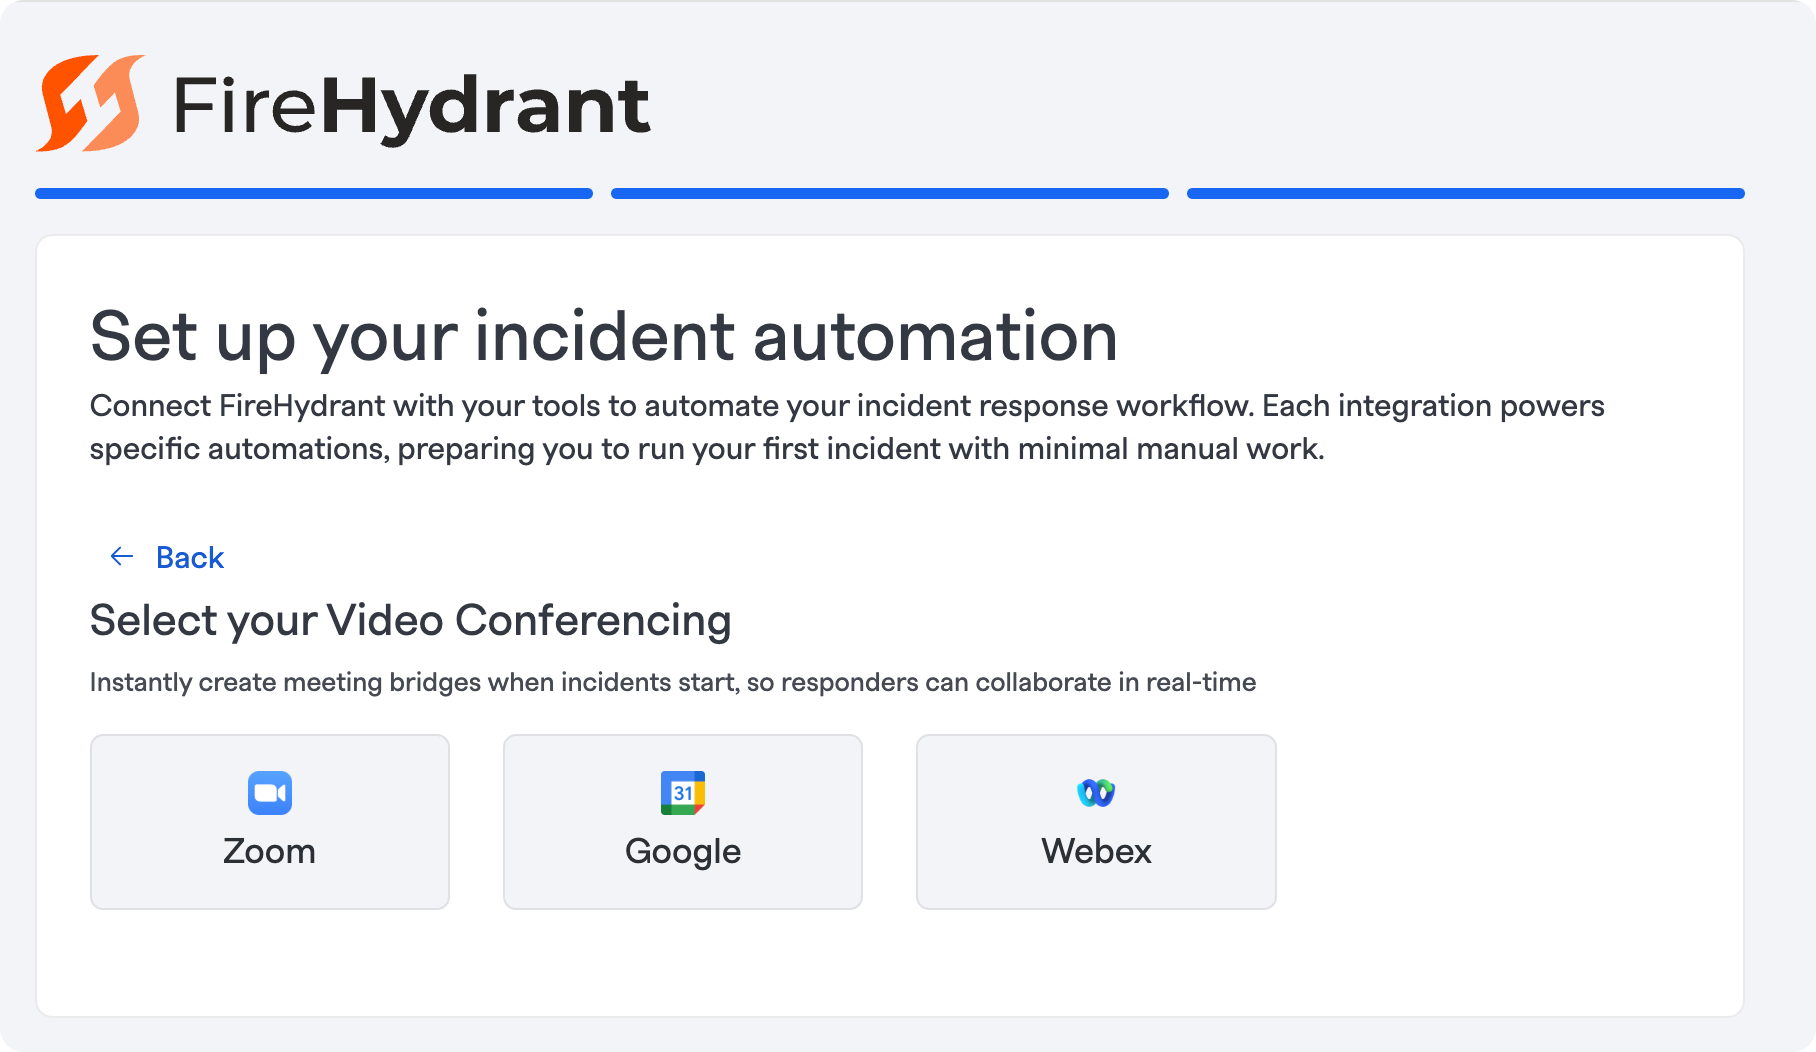
In many organizations, incident responders often gather on a meeting bridge to discuss problems live. After you configure your video conference tool, you will be able to effectively coordinate efforts to resolve your incidents.

We currently support:
- Google Meet
- Webex
- Zoom
- Microsoft Teams ( you can set up this integration under Settings > Integrations )
Once you've configured a video meeting integration, an additional Runbook step will be added to the Default Runbook to automatically create a meeting bridge upon the start of an incident.
3. Project Management
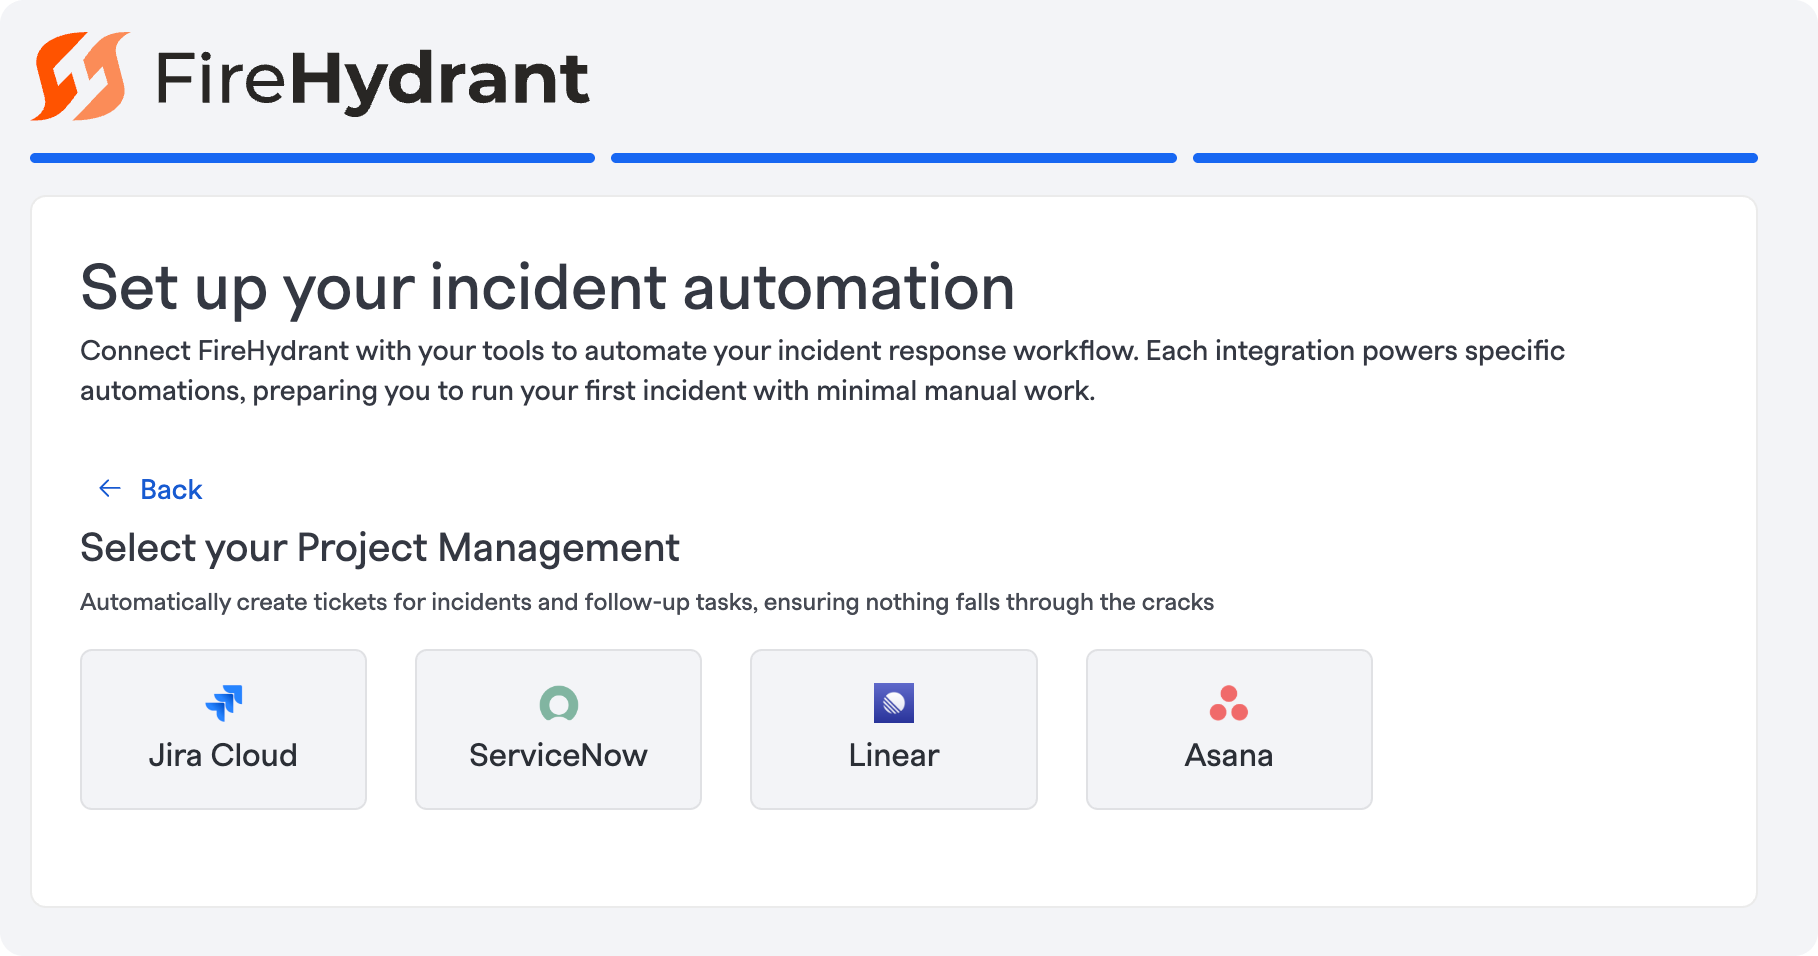
Integrate your project management tool of choice to help track all incidents and follow ups where your engineering teams plan and work.

We currently support:
What's next?
After you've completed your initial integration setup, please follow the steps to set up your Team, Service Catalog, and run your first Fire Drill.

To experience the full power of FireHydrant's incident management platform, we recommend the following next steps:
- See theoverview of all our integrations.
- FireHydrant only suggested configuring a few core integrations during onboarding, but numerous others help your team get the most out of incident management in FireHydrant. Visit the docs link above for an overview of all available integrations on FireHydrant and what value they bring to your team.
- Begin customizing your FireHydrant instance.
- From Incident Roles to Managing Tasks, Severities and Priorities, Incident Types, and more, you can tailor FireHydrant to your organization's needs.
- Configure your alerting.
- Visit Introduction to Signals to learn how to setup FireHydrant's built-in alerting and on-call capabilties and how it seamlessly connects and transitions into incident management.
- Learn about FireHydrant's automation engine, Runbooks, and experiment with the numerous available steps and conditions.
- Runbooks can be tailored to meet a large variety of different situations and use cases. For example, some customers will have different Runbooks for different severity incidents. Others will have different Runbooks for different product areas.
- Runbooks can even be layered together, with a general shared Runbook that attaches to all incidents and more specific ones that only apply under certain conditions.
- Configure your Service Catalog.
- FireHydrant's Catalog is how teams efficiently find the right people for the right problems and dramatically improve Mean Time to Assembly.
- You can automatically pull in a service's owning teams when it's impacted in an incident or automatically add services related to a business functionality on an incident.
If there are questions at any time, you're welcome to reach out to our Support team or, if relevant, the Account team that is working with you.
Updated 5 months ago
